Wow team! I had such an amazing response from people responding to my insta stories and my snapchat story that I figured I’d write up how I did my newest bookshelves.
First, let’s do a throwback to the first bookshelf in DC. I moved across the country, and set to buying all the normal bedroom furniture that you need as an adult, bed, dresser, etc. But as we all know I’m a huge bookworm, and slowly but surely I was accumulating books in my new home. I went onto pinterest, and found wooden crate bookshelves. I loved the idea so much, that within a few months I made these:
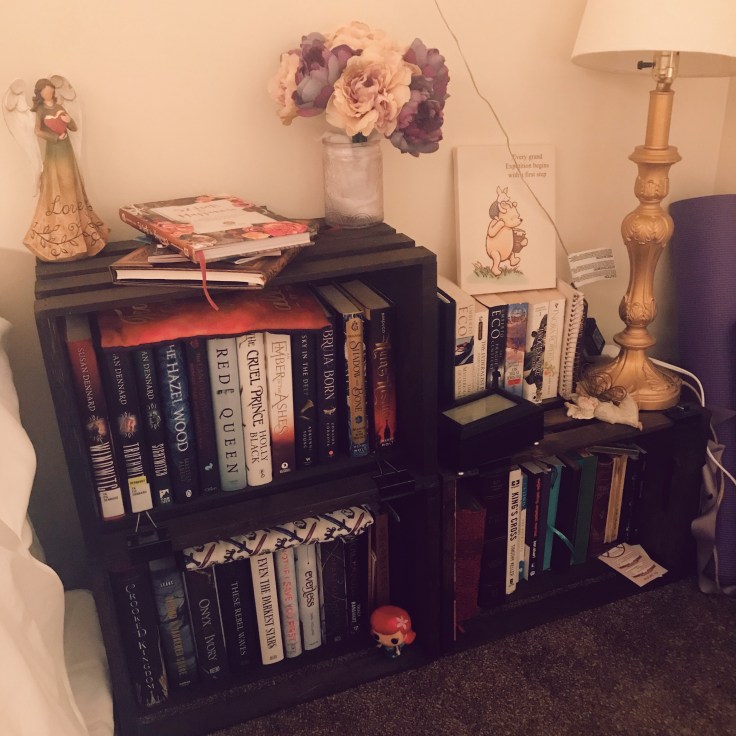
My three wooden bookshelves 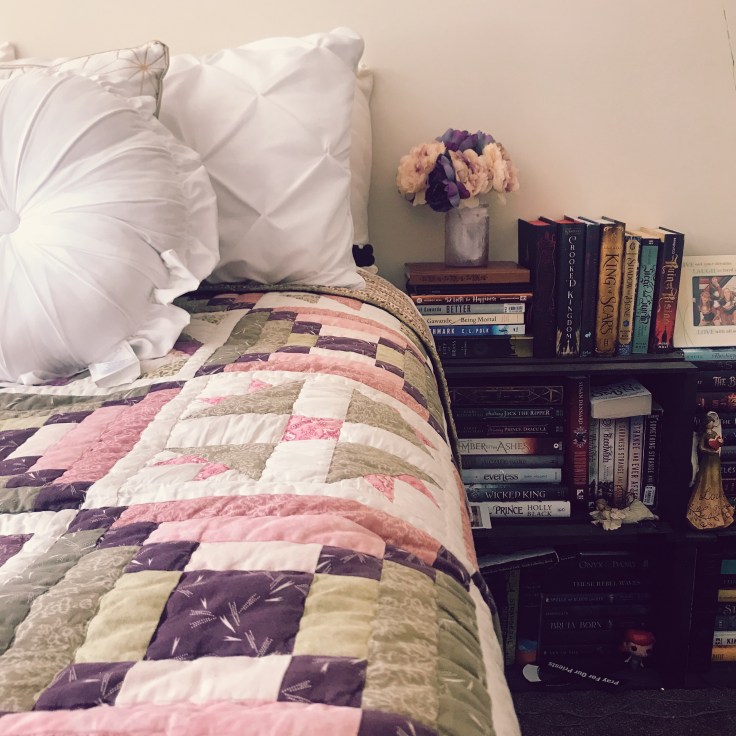
More recently overloaded with books
I love these little shelves, and my plan was to just keep adding to them. You can get them at Home Depot for about $10! I recommend Home Depot vs Target, Michaels, etc. because they tend to be $2-$5 cheaper. When you’re broke and just starting out that can help, a lot.
Three shelves a quart of stain and a brush was a great little shelf for under $40, which was the right price for someone just starting her first move. I kept them together (when I had them all stacked on top of one another) with the jumbo binder clips.
Fast forward several years and well, I had too many books for my cute little shelves. So I started digging. I found a few ideas off of pinterest for my shelves. See below:

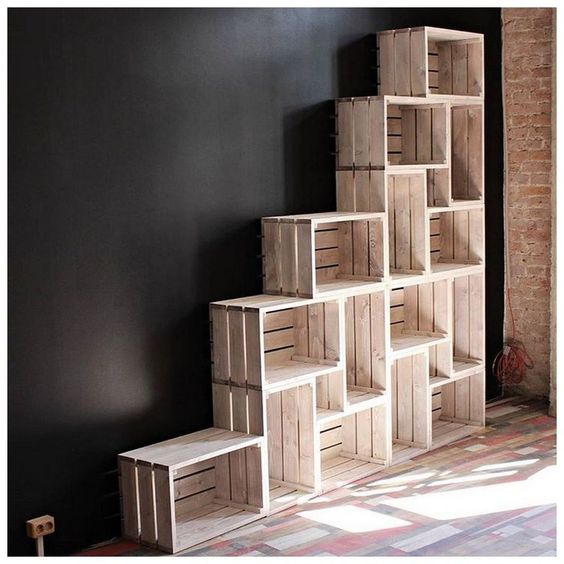
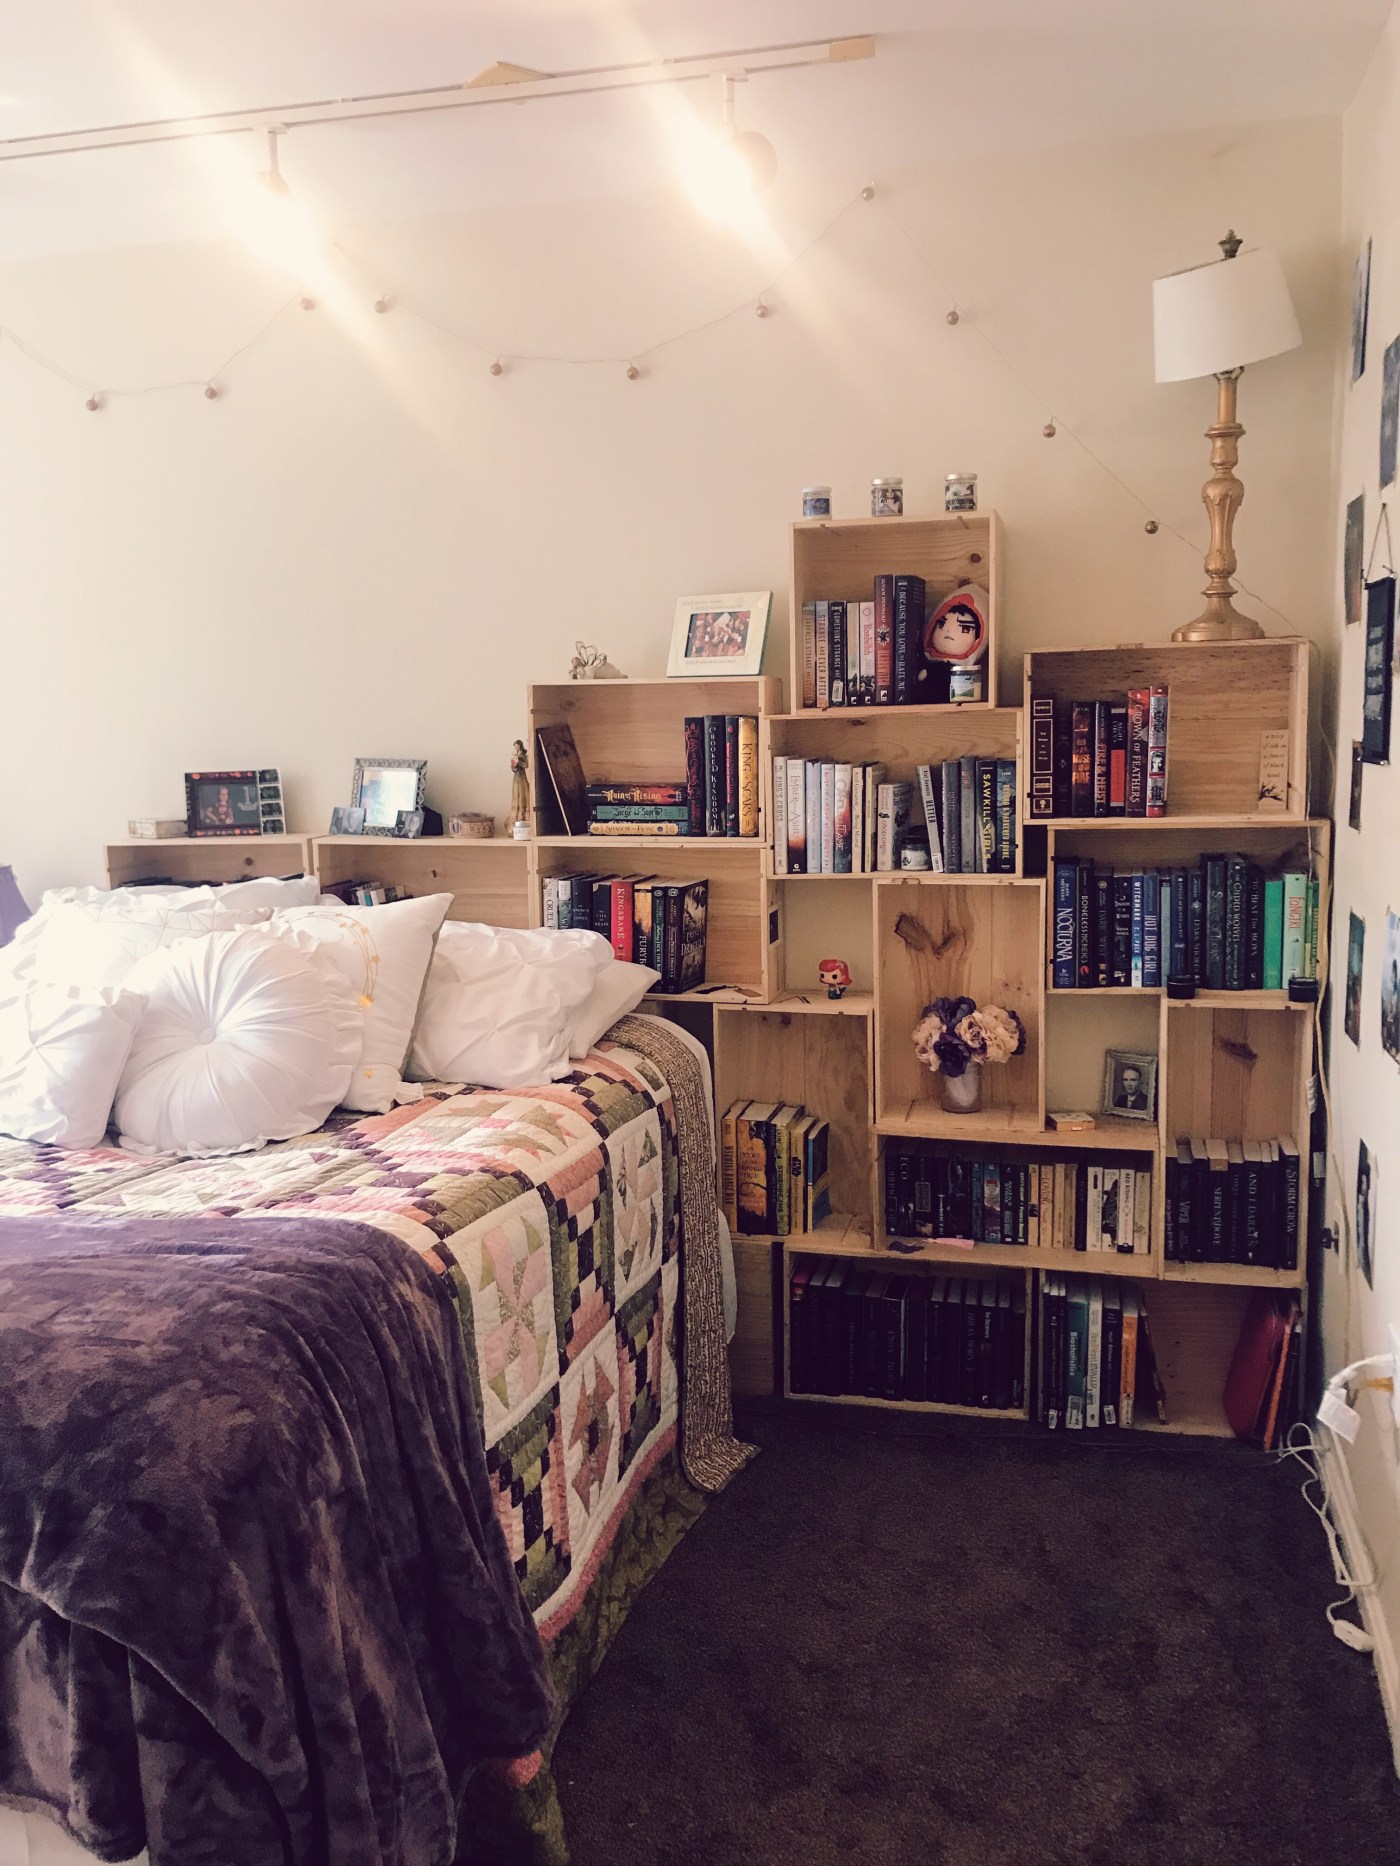
So from these ideas I started trying to figure out how to make my bookshelf / headboard. Originally I was going to keep using the crates I’d already bought and add on to them. However between grad school, and work, getting the time to run to the store, stain the, and then reconfigure my room I didn’t have the time. Additionally, I’ve been trending toward lighter colors in my bedroom. So as I was browsing for crates on facebook marketplace, craigslist, and other selling apps I found a gentlemen who was selling upwards of 60 wine crates.
The majority of the crates I bought were Bordeaux wine boxes that held twelves 750 ml bottles. The dimensions were around 19 5/8″l x 13″w x 7 1/8”h. Additionally, I grabbed 5 other wine boxes that were near the same size. One was much narrower, you’ll see my paper backs in that one. Additionally the 6th box I got to round out my 20 was square, the one on top. I already knew I wanted an asymmetrical design and thought it would work well.
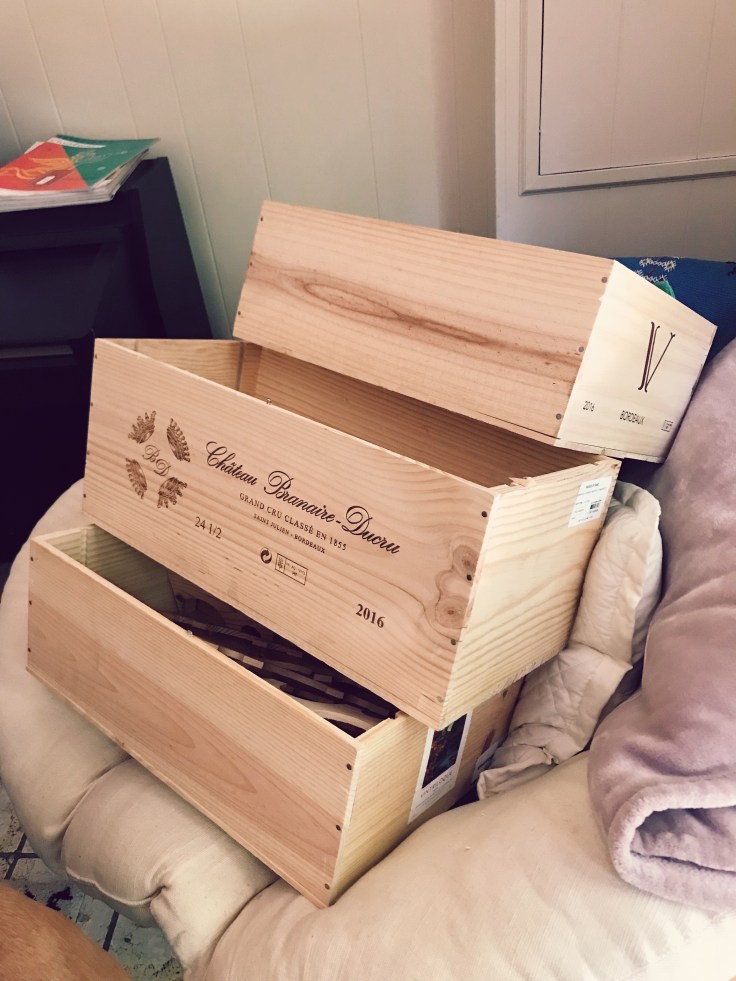
Different sizes, all in beautiful condition 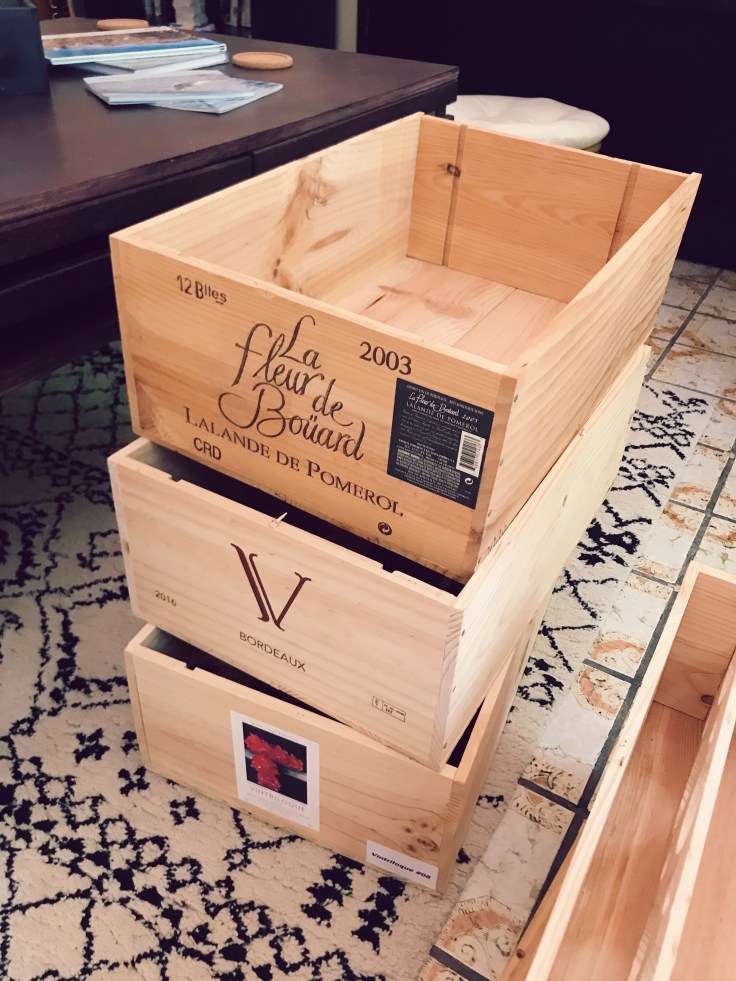
All of the boxes with the V were the identical size boxes.
Side note–All of the boxes I bought were from European wines, the Bordeaux region is known for using them if that helps your searches, though a handful of Californian vineyards still use wooden wine boxes.
Once we got the crates home, I wiped them down, pulled out the pieces of wood that were still in the staples that had held the lids on. Then I set to work.
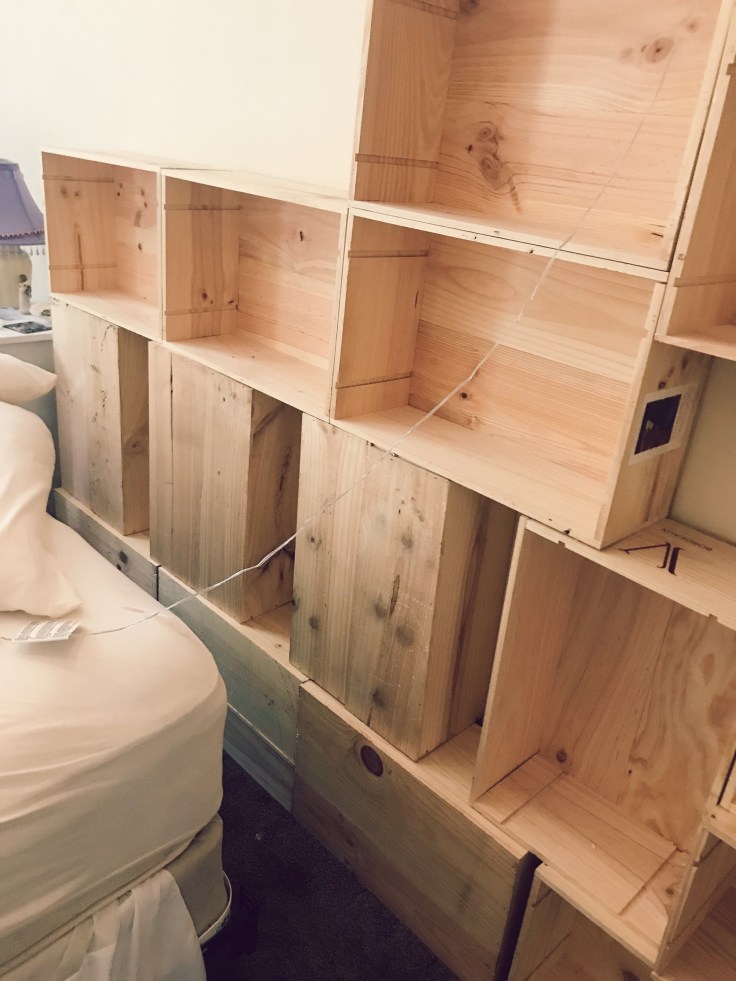
How I stacked the boxes to make the headboard tall enough.
Since I needed to create my headboard I measured out how tall my bed is. I have a standard metal frame, box spring, mattress, as well as 5 inch risers (hide those suitcases & out of season clothes team!). I needed my shelves to start at approximately 34 inches high for this reason. So turned my shelves backwards, so they don’t get dust and began to stack them. I made sure none of these boxes were warped as they’d make a shelf up top. This is where the majority of the same size boxes were used so it was even.

Visual of how I merged the headboard to the shelves, prior to me raising my bed back up. 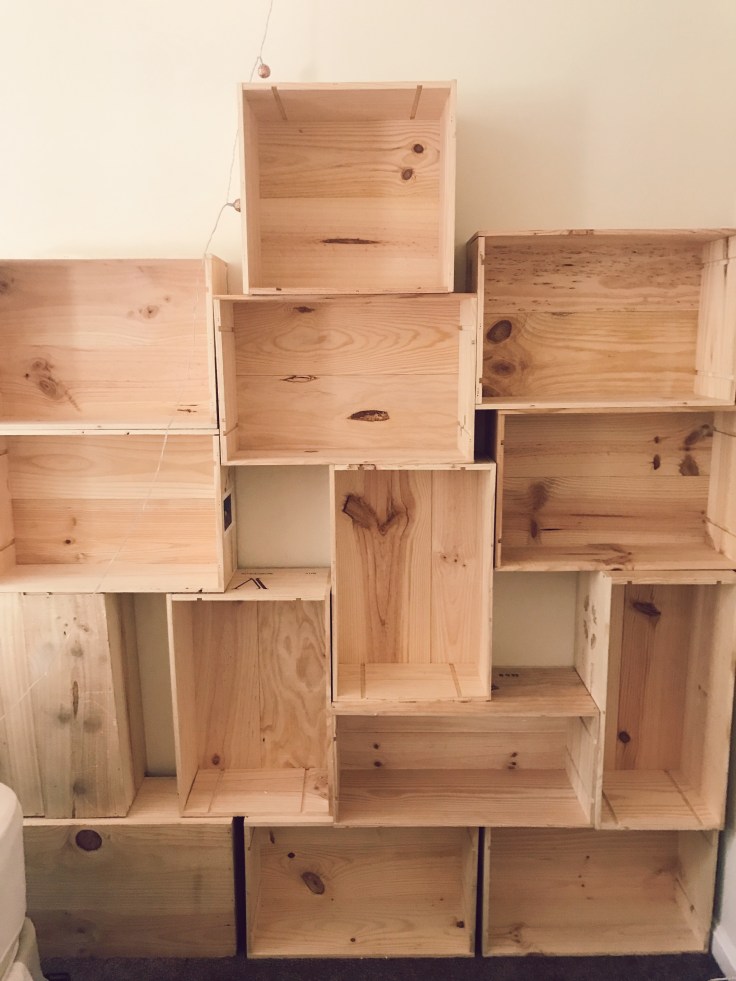
Design layout for the bookshelves.
I created that bottom layer all the way across before I started playing with the layout. As can be seen from my pinterest inspiration photos I wanted to create that fun small box in the middle for little knick knacks. I have a lot of candles I get from my book box. After that it was seeing what size boxes I had and how I could get them to fit.

I’ve gotten several questions on how I got them to stay in that formation. Truth is I just stacked them. You can nail them to each other if you want. However, I’m a renter, and this layout a) would be a pain to get out of my door in the future and b) wouldn’t let me reuse the boxes in another design later. I fully plan on having to expand the shelves, or rearrange them depending on my mood. They are versatile enough I can do that, and they don’t need to be nailed down to not fall over, at least with books.
Also, I didn’t nail them into the wall, or anchor them in anyway. I don’t have small children, I don’t live on a fault line, and I knew I would be placing books in these shelves, which would keep them weighted down. I’d recommend anchoring them into the wall somehow if you have little ones just to be safe.
A reminder here. Wine boxes are made out of pine, which is an INCREDIBLY SOFT WOOD. You might splinter the boxes somehow if you try to nail it straight to the wall. Which if you aren’t moving anytime soon is fine. Additionally, even though I can’t see them from most angles, wine boxes have beautiful detailing on the fronts, and sometimes the sides. So if you want to stain them (which I’ve seen the lids done to place on the front side of stairs) keep that in mind! Otherwise it’s pine so it’ll be easy to change the finish if you so desire!
I’d recommend checking out places like craigslist or talking to a local wine bar / hotel to see if they get any and would like to offload some wooden wine crates. I was able to get them for cheaper than Home Depot was selling, as well as learn some of the neat history from the boxes. I will say I think these are slightly sturdier than the crates I got at Home Depot, but those crates served me so well, and I’ve repurposed them into an entryway table!
In case you’re interested here’s the crates I got at Home Depot! I don’t get any kick back I just wanted you to be able to find them. If you have any questions don’t hesitate to ask, I hope this was helpful!


Leave a comment